How to Design a Professional Event Flyer: 9 Things Every Flyer Needs
A flyer has a short window to stop someone, explain the event, and point to an action. Professional flyer design is less about adding effects and more about controlling the order in which people read.
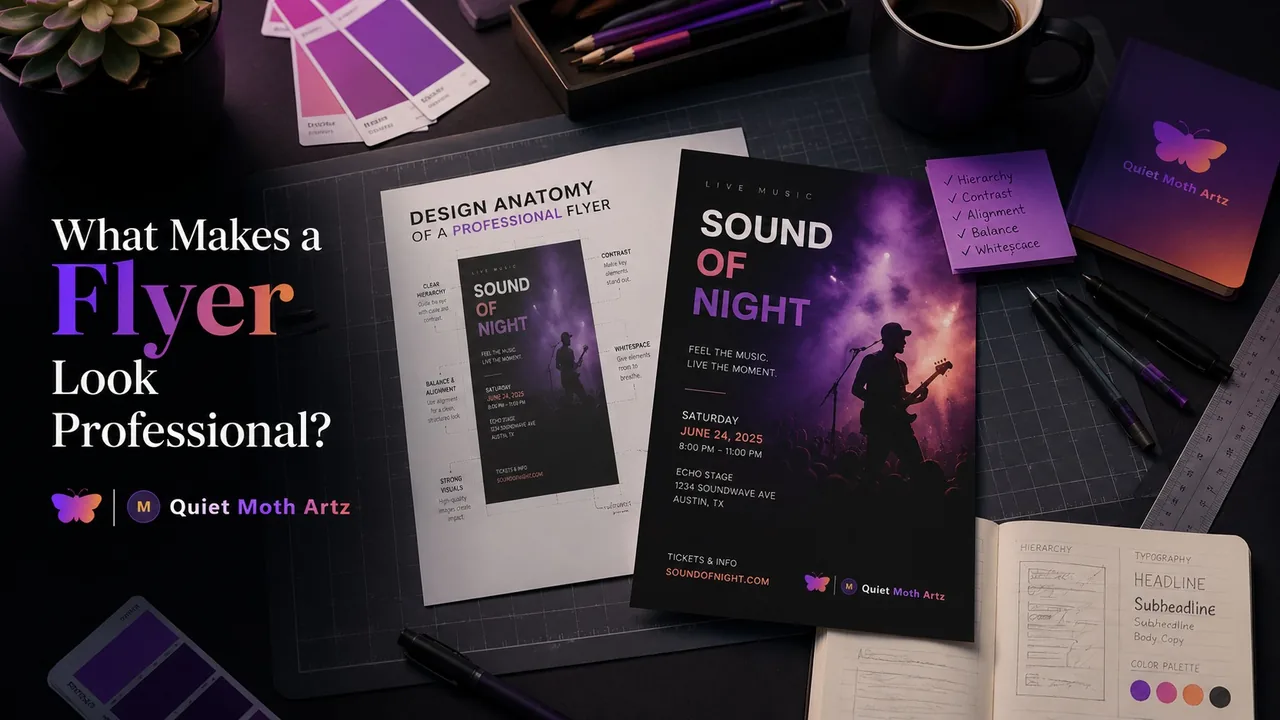
An event flyer gets only a few seconds to establish what is happening, when it happens, and what the viewer should do. That first scan is the design problem. Style matters, but style cannot rescue missing details, equal-weight typography, or an export that cuts off the ticket link.
The nine requirements below work for club nights, exhibitions, workshops, community programs, listening events, launches, and other promotions because they address reading and production rather than prescribing one look. Each requirement includes the principle, the reason behind it, a weak-versus-strong comparison, and a practical implementation note.
-
1. Event hierarchy
Principle: Organize information into a deliberate first, second, and third read.
Why it matters: When title, date, venue, lineup, sponsor names, and action share the same weight, the viewer has to design the hierarchy mentally. Professional composition makes those priorities visible.
Weak versus strong: Weak: every line is bold, centered, and nearly the same size. Strong: the title leads; date and location form a compact second block; lineup, presenter, and supporting details follow with enough space between groups.
Implementation note: Step back from the canvas and squint. You should see two or three clear masses, not a uniform wall of text. Use empty space to separate roles before reaching for another color or divider.
-
2. Event name
Principle: The event name or central announcement should be the clearest visual entry point.
Why it matters: A viewer cannot decide whether to keep reading until they know what the flyer is about. If the presenting logo, texture, tagline, and event title all shout at once, the scan has no beginning.
Weak versus strong: Weak: a small “Summer Sound Night” title sits between a giant sponsor logo and a dramatic background phrase. Strong: “Summer Sound Night” leads, while the presenter and sponsor information support it at a smaller scale.
Implementation note: Build the title first in grayscale. Test it at thumbnail size before adding effects. If it does not lead without glow, outlines, or color, adjust scale, weight, or placement rather than stacking on decoration.
-
3. Date and time
Principle: State the full date and label every time the audience needs to understand.
Why it matters: “Friday at 8” becomes ambiguous when the graphic is reposted later or appears without its original caption. Doors, start time, and end time are not interchangeable.
Weak versus strong: Weak: “FRI / 8PM” appears in tiny type with no month or day. Strong: “Friday, August 14 · Doors 7 PM · Show 8 PM” gives the viewer enough information inside the flyer itself.
Implementation note: Keep the date and primary start time together as one information block. Use consistent punctuation, and ask the organizer to approve the exact wording before final export.
-
4. Location
Principle: Include the venue name plus the location detail needed to arrive or join.
Why it matters: A city name alone may create interest, but it does not complete the plan. Physical and online events need equally specific destinations.
Weak versus strong: Weak: “Downtown” is the only location. Strong: “North Hall · 125 Market Street” names the place and address; for a virtual event, “Live online · registration required” points toward the access step.
Implementation note: Put the venue and address on separate lines if that improves scanning. Check spelling against the organizer’s approved information, not a remembered version of the venue name.
-
5. Main visual
Principle: Choose one hero image or one coherent visual concept to carry the mood.
Why it matters: Images compete faster than text. Several unrelated portraits, stock backgrounds, cutouts, and textures can turn the flyer into a collage with no focal point.
Weak versus strong: Weak: four equally sized photos, a city skyline, smoke, and a microphone icon all fight for space. Strong: one performer portrait leads, while smaller supporting names appear through type rather than additional full-size images.
Implementation note: Pick the focal image before designing the type around it. Check the crop in every required format, and keep faces, artwork details, or product edges away from likely trim and interface overlays.
-
6. Readable typography
Principle: Let expressive lettering establish mood while simpler type carries essential details.
Why it matters: A display font can look striking at full size and collapse in a social preview. Contrast, line length, spacing, and background activity all affect readability.
Weak versus strong: Weak: the date, address, and ticket instruction use condensed script over a detailed photo. Strong: the event title uses the expressive face, while practical details use a readable companion typeface on a quieter field.
Implementation note: Limit type roles rather than collecting fonts. Test the actual phone-size export, not only a zoomed-in design canvas. If essential text needs an outline to survive, first try moving it to a calmer area or adding a controlled contrast panel.
-
7. Brand consistency
Principle: Use consistent edges, spacing, color roles, and logo treatment to connect the flyer to its presenter.
Why it matters: Brand consistency is not the act of enlarging a logo. It is the repeated visual logic that makes all parts of the piece feel chosen together.
Weak versus strong: Weak: every text block starts on a different invisible edge, logos are stretched, and five accent colors appear once each. Strong: details share an alignment line, logos keep their proportions, and a small palette gives title, information, and action distinct roles.
Implementation note: Set a grid and margin before polishing. Use official logo files, preserve clear space, and pull colors from approved brand material when it exists. The Flyers collection shows multiple visual directions without suggesting that every event needs the same style. For a practical system behind those choices, read Brand Identity Basics for Artists and Small Businesses.
-
8. Call to action
Principle: Tell the viewer what to do after understanding the event.
Why it matters: Awareness is not an instruction. “Don’t miss it,” a QR code, a social handle, a ticket URL, and “DM for info” can pull in different directions when presented as equal actions.
Weak versus strong: Weak: three small links and an unlabeled QR code sit in separate corners. Strong: “Buy tickets” leads to one short URL or clearly labeled QR code, with a secondary social handle kept visually quiet.
Implementation note: Choose the primary action with the organizer before layout. Label QR codes, preserve a clean margin around them, and test the final exported code from another device. Do not assume a code works because it scanned inside the design app.
-
9. Export and print preparation
Principle: Treat print, feed posts, stories, and screens as separate delivery conditions, not one file resized at the end.
Why it matters: A portrait poster can lose its title when cropped into a square. A story interface can cover details near the top or bottom. A print file without adequate resolution or bleed can produce soft images and exposed edges after trimming.
Weak versus strong: Weak: one compressed JPEG is stretched for print and automatically cropped across social channels. Strong: each approved size preserves the hierarchy, keeps essential text inside safe areas, and uses the correct export settings for its destination.
Implementation note: Confirm dimensions before design begins. For print, follow the printer’s requested bleed, color, resolution, and file format specifications. For digital delivery, preview compression and interface-safe areas. Open every final file after export and compare names, dates, links, crops, and logos against the approved source.
Read it in three seconds, then inspect it like a production file
First, shrink the flyer and give it a quick glance. Can you identify the event, date, and action? Then slow down and verify every letter, number, destination, crop, and output size. The first test protects the audience’s scan. The second protects the actual event information.
A professional flyer can be noisy, elegant, gritty, playful, or formal. What makes it professional is that the energy has a structure and the structure survives delivery. If you have approved event details, available images, required sizes, and a reference for the mood, review the Graphic Design service or submit a graphic design request to Quiet Moth Artz.
Have the details but not the finished flyer?
Quiet Moth Artz can organize the hierarchy, imagery, type, and final formats around the event you are promoting.
← Return to Blog